DIY Sea Glass Jewelry

Want to learn how to wire wrap your own sea glass pendant? Vase Market can teach you! Here is a DIY, step-by-step process on the materials to gather and the method of bending and wrapping your beautiful colorful sea glass! This tutorial includes my own personal methods for making bail heads and artistic wrapping.
-32.jpg)


MATERIALS
- Sea Glass (We've got green, blue, light blue, white, and light red glass)
- Round nose and flat nose pliers (or one of those 2-in-1 pliers)
- Wire Cutters
- Wire for jewelry making
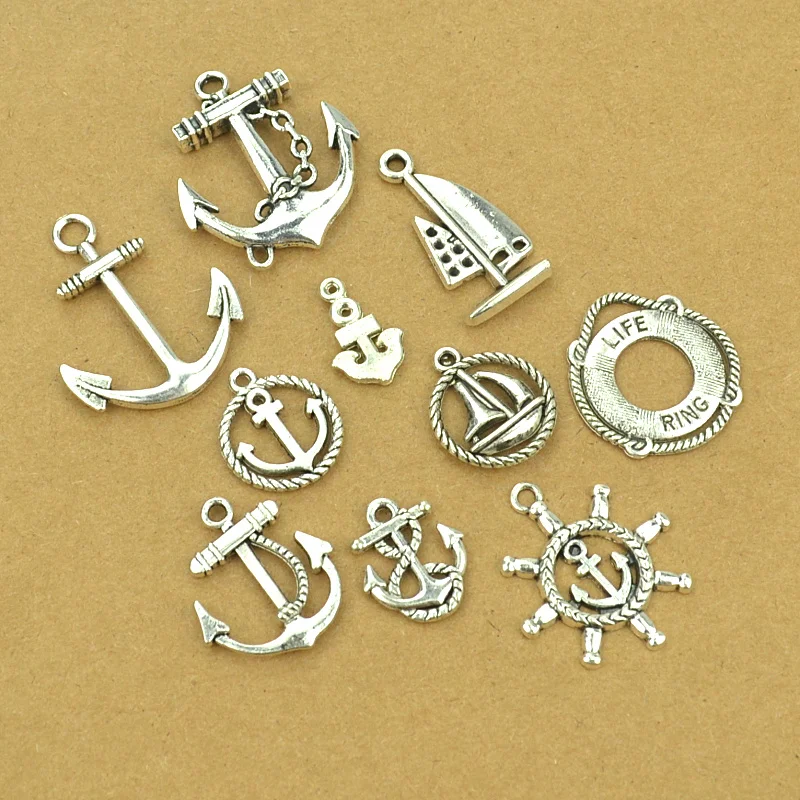
- Beads and charms
STEP 1 - Make a bail head
This is the part where your string or chain will thread through so that the pendant can be worn or hung. There are 2 types of bails I know how to do, and I will outline the simpler one (called the "S" spiral bail) here. To learn the corkscrew method, see the prezi animation above.
First, cut a 2" - 3" wire. Since I chose to work with blue sea glass, I decided to use copper wire for a really nice color contrast. Using a round nose plier, bend one end of the wire to start a curve.


Using a flat nosed wire, continue to bend the wire along its own curve to form a spiral.


Once you have a sizeable spiral that you think suits the size of the sea glass piece you are using, proceed to make another spiral on the other end of the wire. Make sure that this other end has a wide enough opening to fit your string or chain through.

Then, twist the spirals until the spirals are perpendicular to each other. You should be able to press one sprial flat against the sea glass, while the other end sticks over it.


STEP 2 - Binding the bail to the glass
The simplest and most obvious method for ensuring the bail stays put would be to simple glue the spiral to the glass. However, I have a method that involves tying the bail using another strand of wire.
Cut a longer wire (the length will depend on the size and shape of the glass you are using). Then fold the wire in half.


Holding the bail pressed against the glass, loop the folded wire around the middle of the "S". To ensure that the "S" spiral stays, begin to wrap the wire around the glass.
STEP 3 - Wrapping the glass
There is no singular way to wrap any cabochon because each piece of glass is totally unique in size and shape. However, I can share with you some general tips for making a beautiful wrap.
Tip 1: Layers
Sometimes, looping a wire around a gem once can look kind of boring even if you feel that it is secure. In the example below, I wrapped the midsection of the glass 3 times to create a more interesting appearance.

Tip 2: Waves
If you have a round nose plier, making the wire wavy is easy. Just keep bending each part of the wire in different directions until you's got some really nice curves going. They look striking against a flat surface.

Tip 3: More Spiralsss!!!!
So you've wrapped up your glass quite nicely, but now you have a sharp little wire sticking and and you don't know where to put it, right? Well, to add artistry to function, you can simply hide this end of the wire in plain sight by simple turning it into a spiral. This way, it is less likely to accidentally hook into something, like your clothes.

STEP 4 - Adding charms and string or chain
If your wire is thin enough for a few beads or charms, feel free to add them to your pendant. You can add some space between the glass and the wire to fit a bead or a charm that can dangle on the face of the pendant. Or make a single loop in the wire to make a holding space for the charm. You could also attach the charms or beads directly to the bail.
Again, make sure to make the loop of your bail large enough for whatever string or chain you decide to thread through.

Comments
Post a Comment